
BUILDING A WHEEL
Rebuilding the wheels of Rick’s 1914 Bradbury project was a challenge, as no measurements were taken before they were stripped down. But it did give an insight into wheelbuilding principles
Words & Photography RICK PARKINGTON
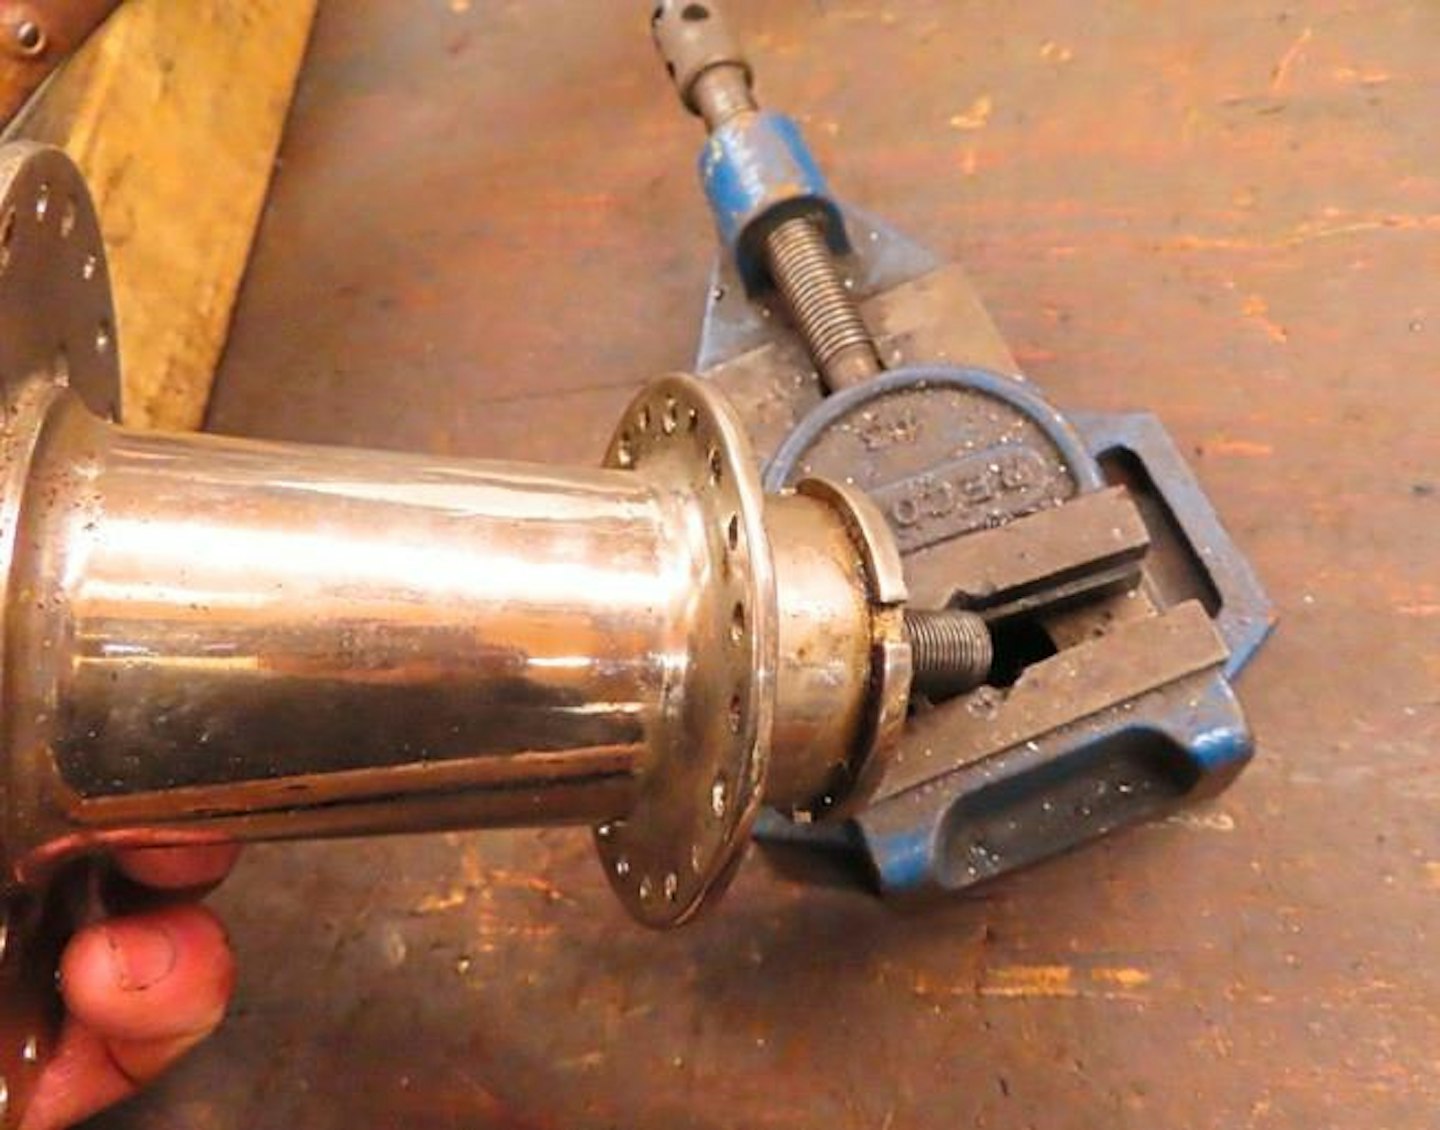
1 Looking for clues
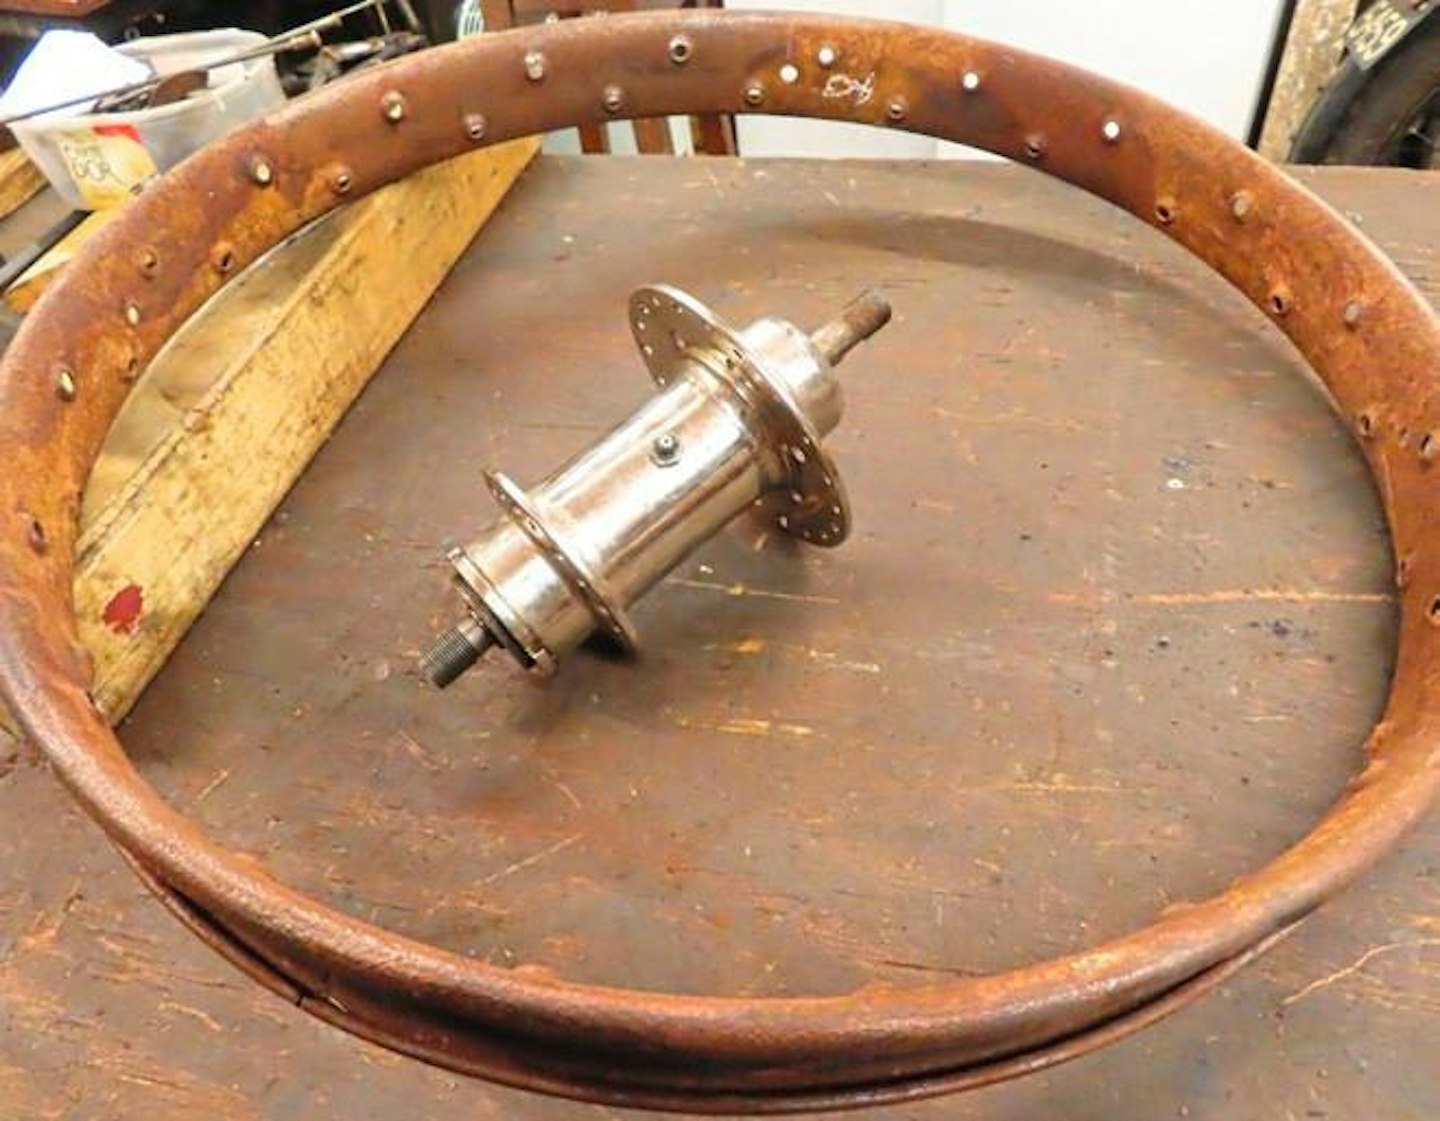
When the hub’s been cut from the rim like this, there’s a fair bit to work out. Was there any ‘offset’? How long were the spokes? What was the lacing pattern? You need to put your detective skills to use...
2 Which side are you on?
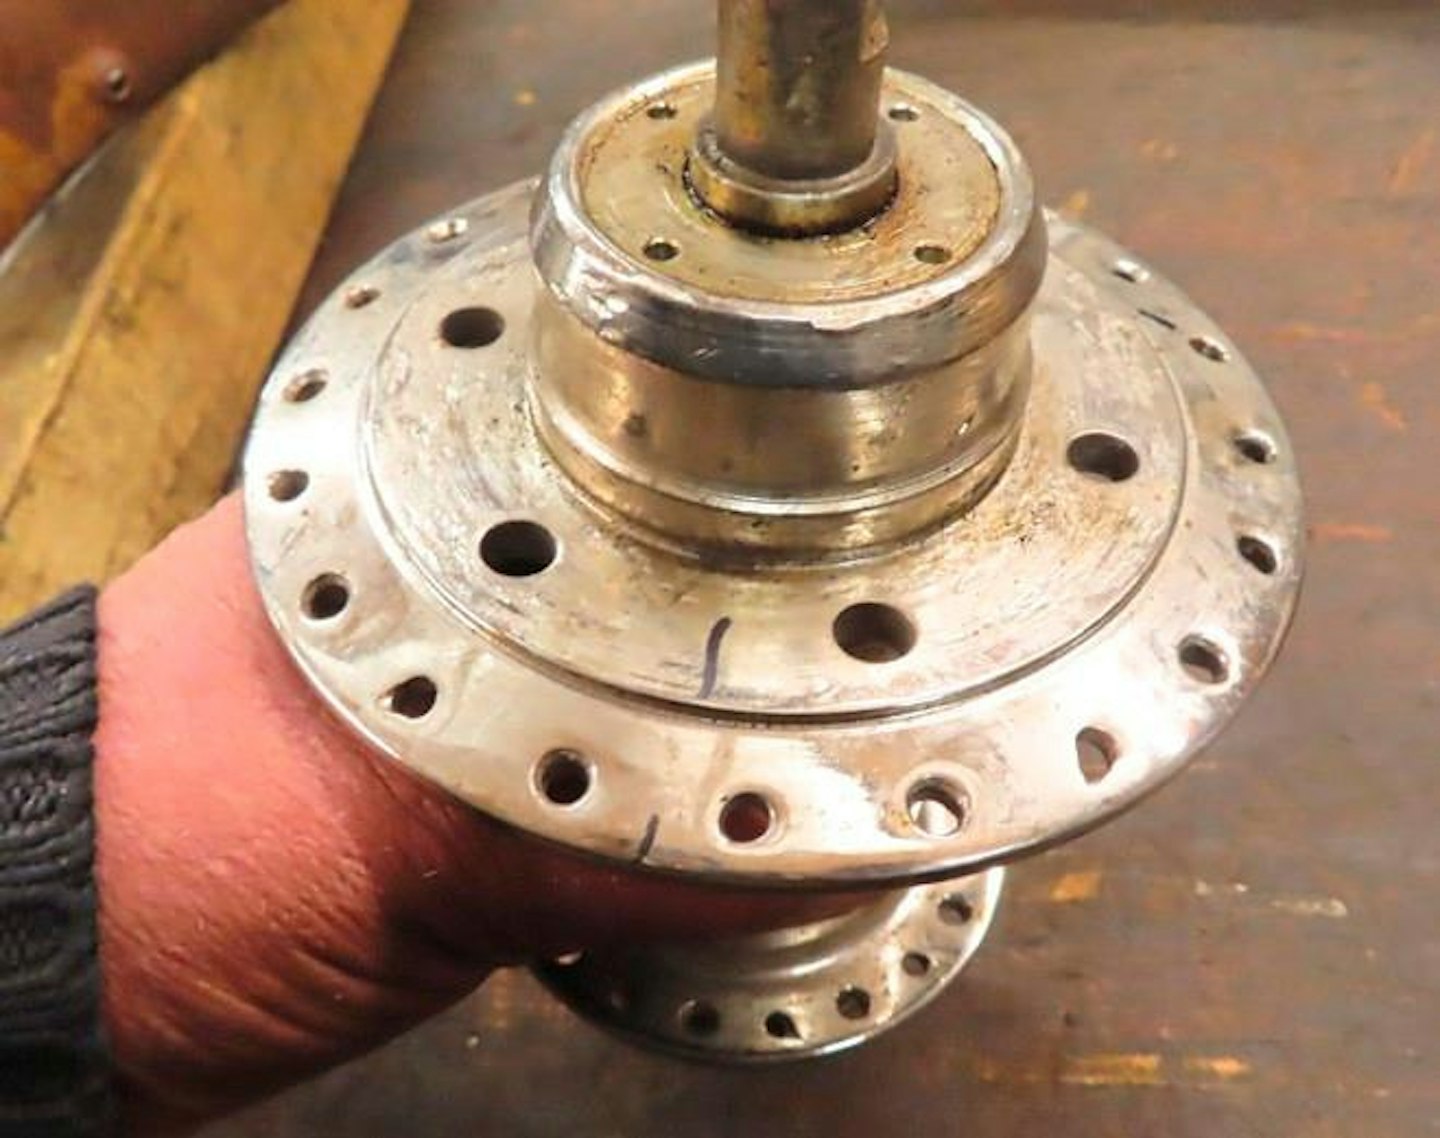
Different diameter spoke flanges alter spoke angles – they’ll be steeper on the large flange side and cross lower. The spoke holes in the rim will be angled to match, so you need to identify the sides.
3 First deductions
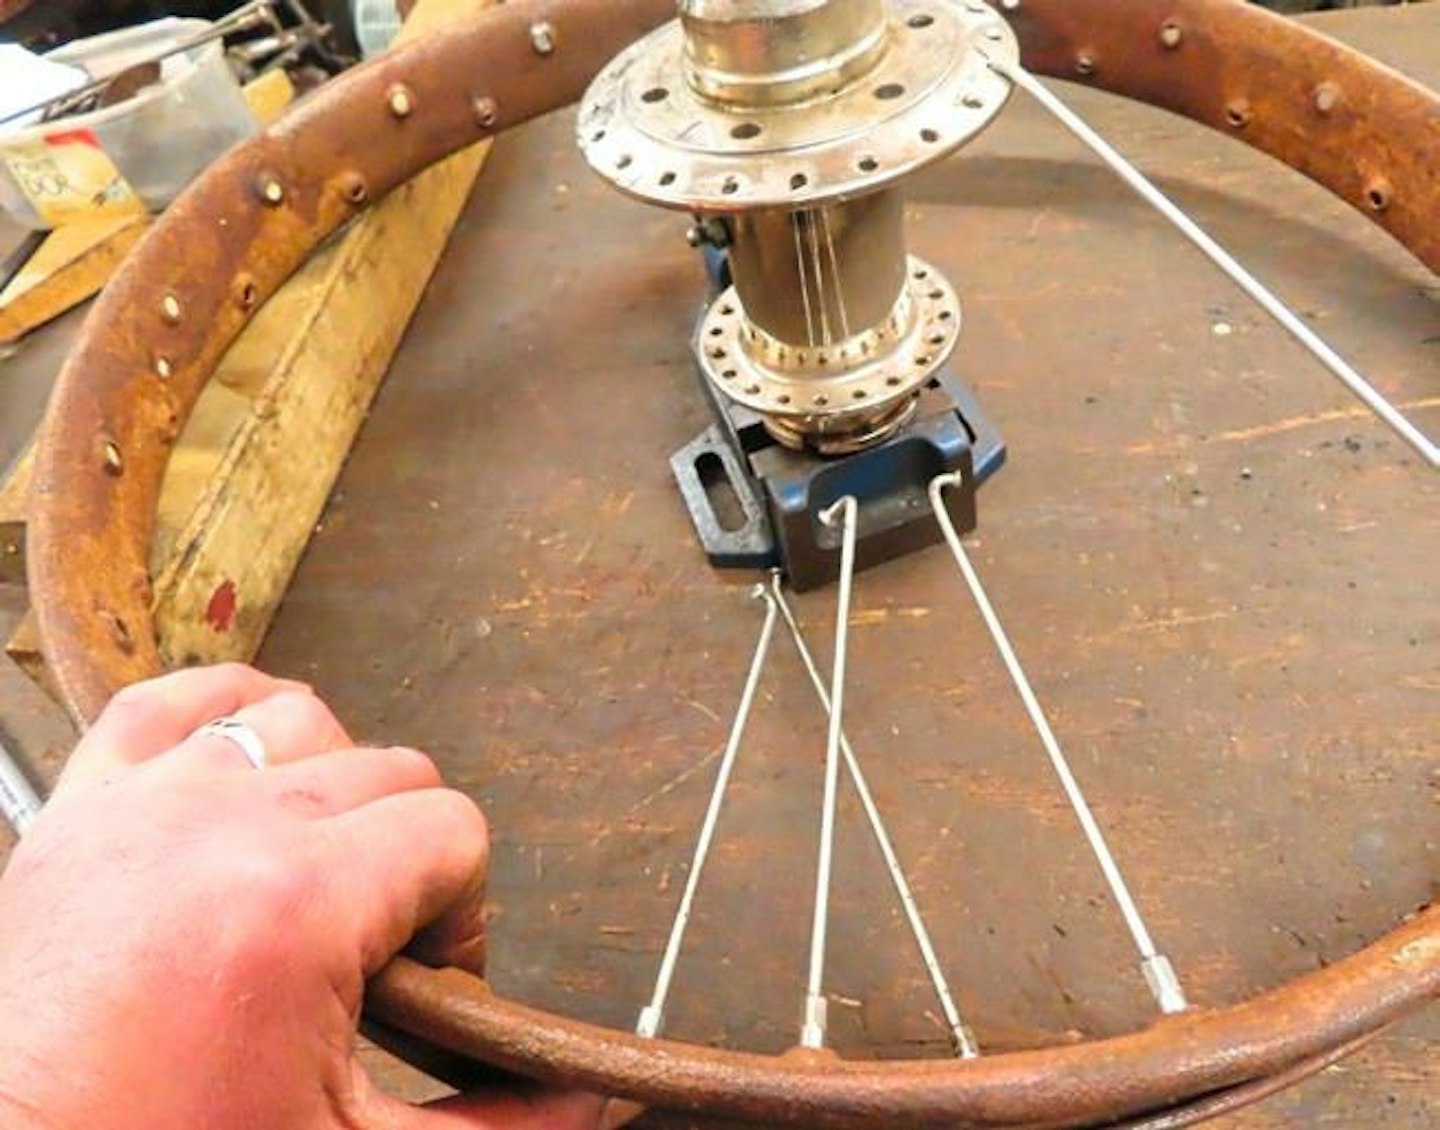
Screw nipples to four spokes, fit them in the rim and press the nipples so they settle at the drilled angle. The pair with the steeper angle will cross nearest to the rim – they’re for the big spoke flange.
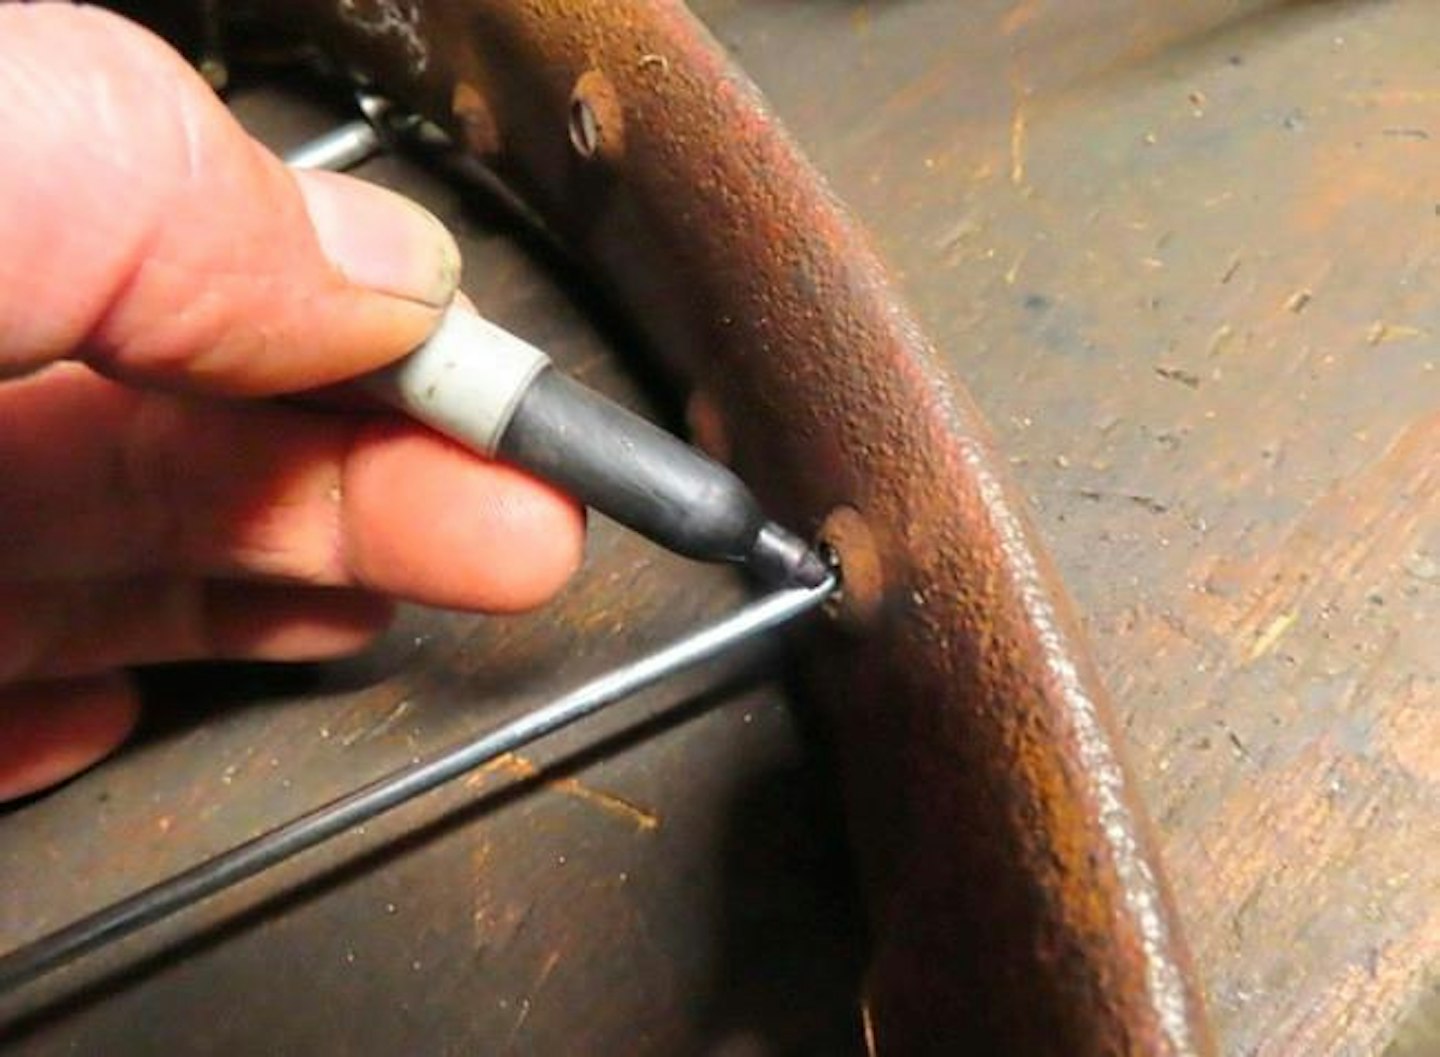
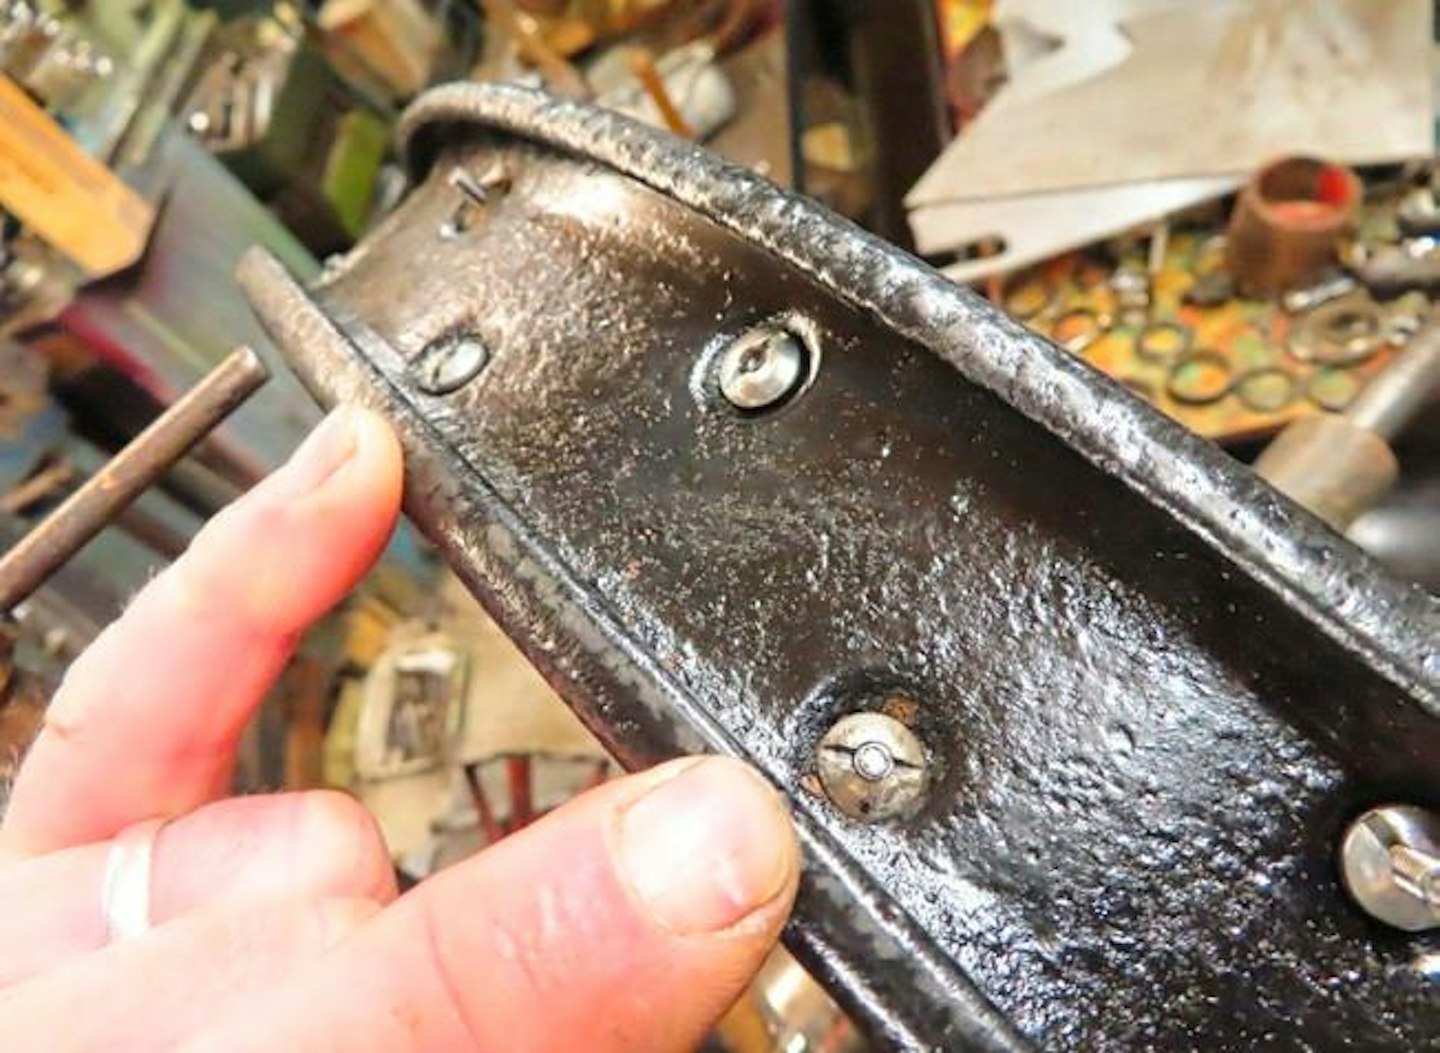
4 Tell-tale bruising
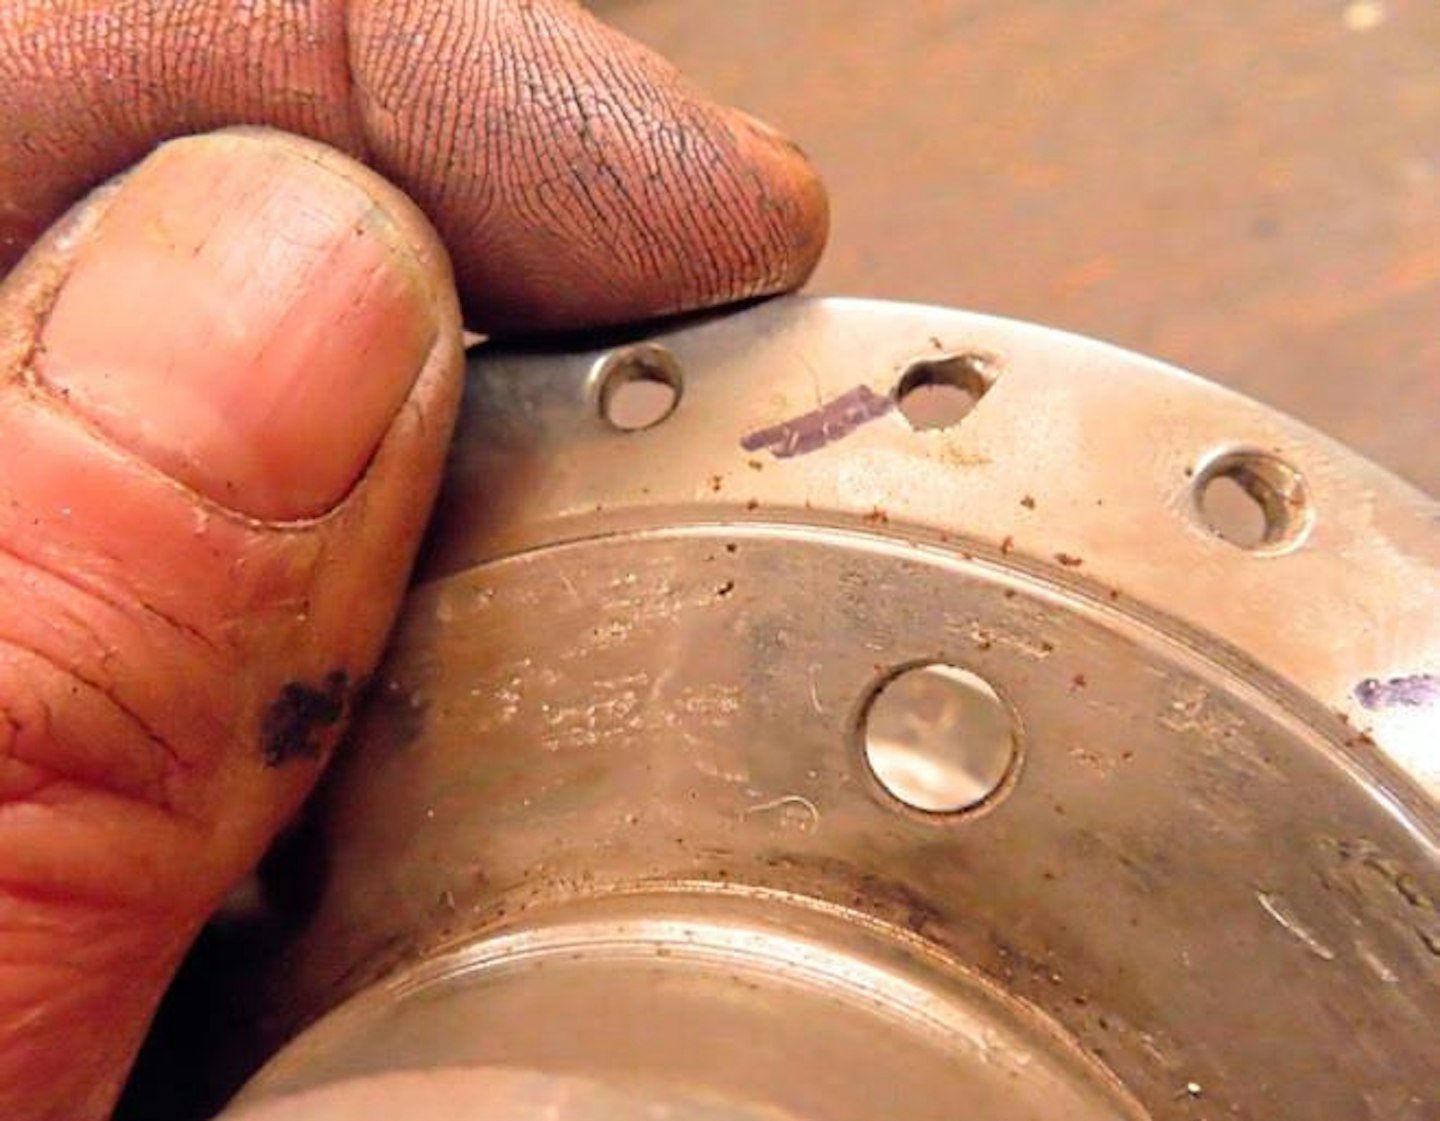
Spokes are ‘internal’ and ‘external’ – and you need to know which go where. A clue is this bruise, made by an external, clockwise spoke. I marked the angle so it’s still visible with the spoke fitted.
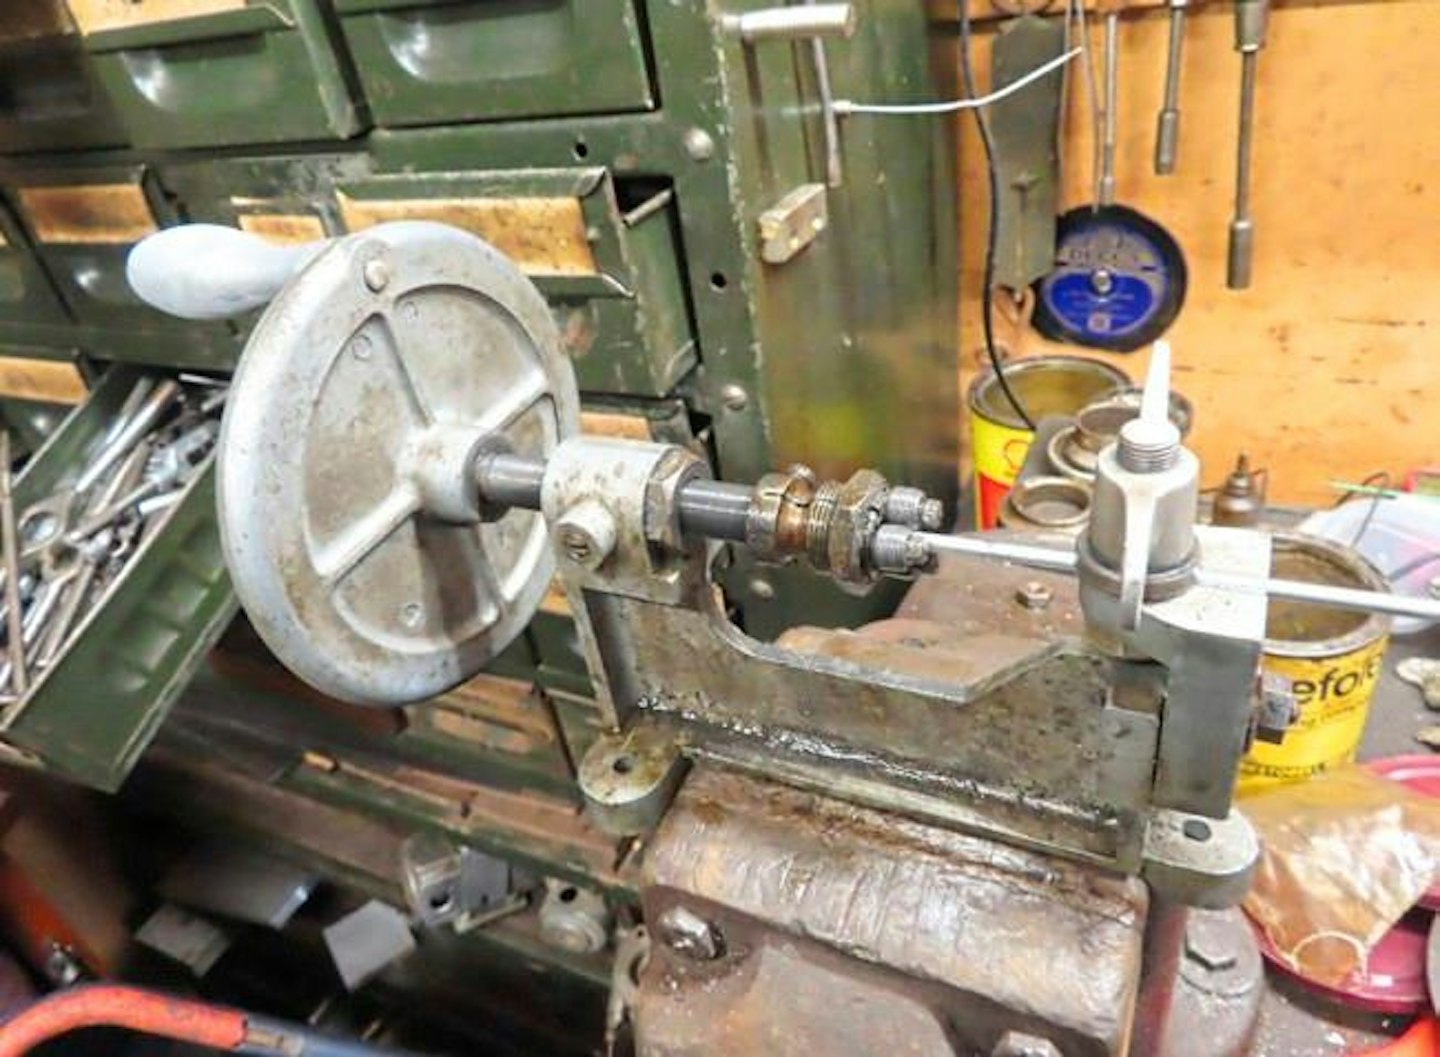
5 Upstanding attitude
Rims usually fit centrally between the spoke flanges. I need to hold the hub upright, so I can prop the rim to the correct height – a machine vice made a good way hold the hub on the bench.
6 On the level
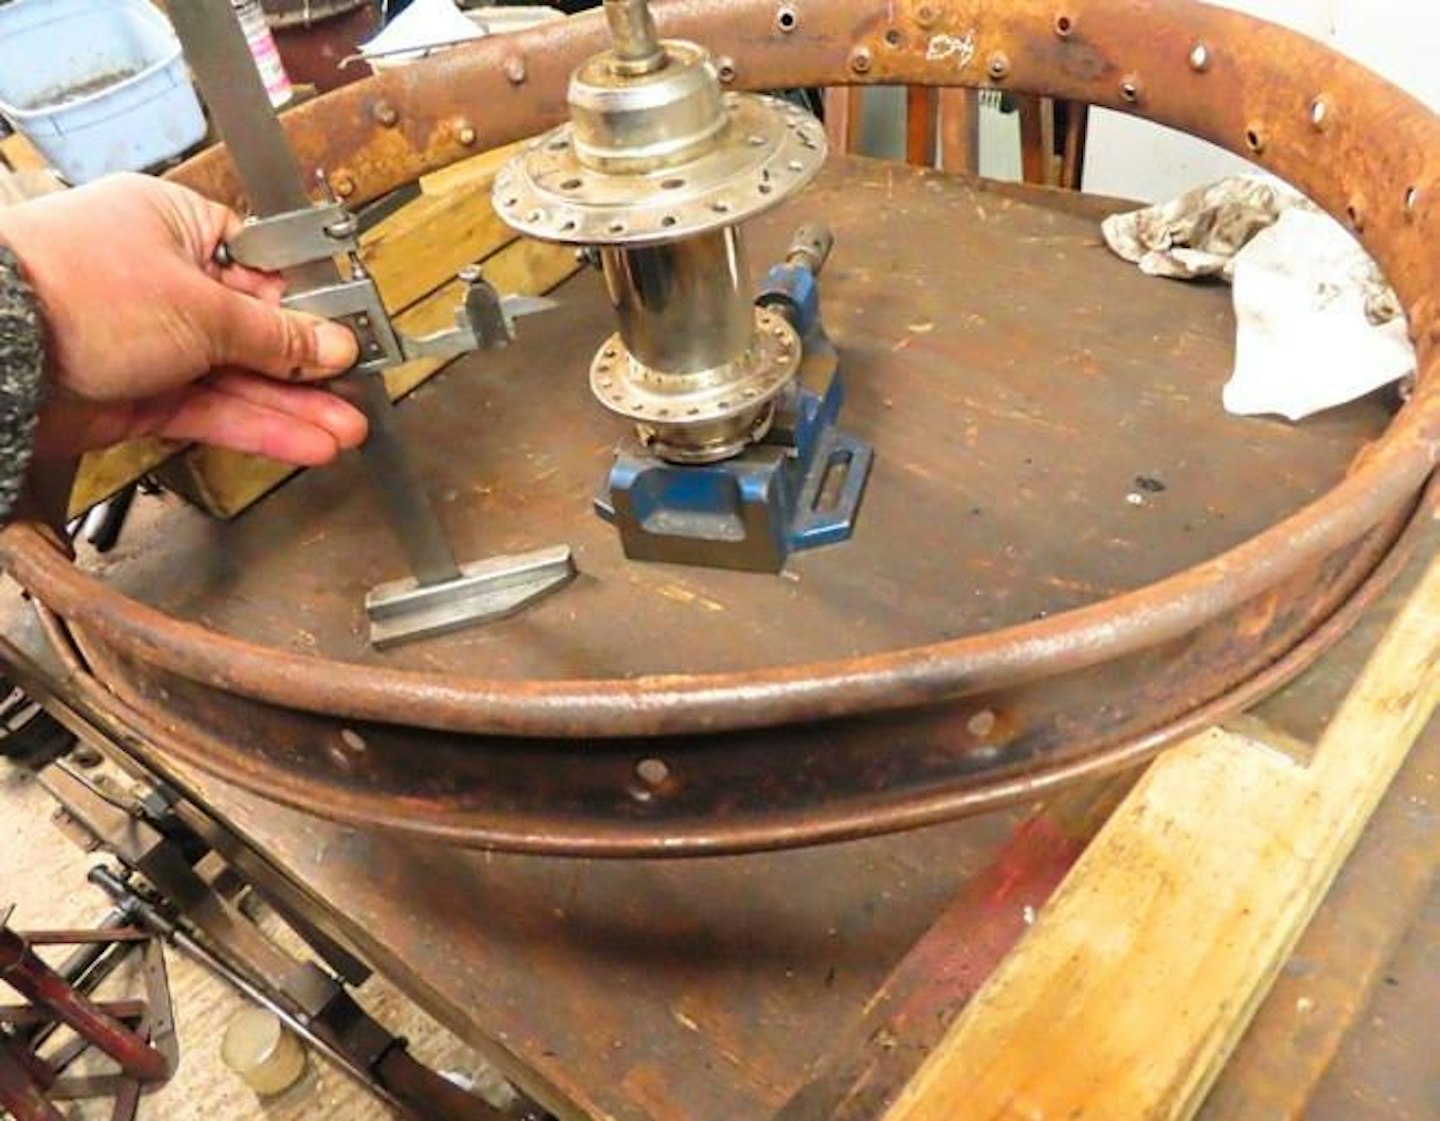
Next, I put wooden blocks and metal strips under the rim to level it – correct side up – until my height gauge confirmed the rim centre (tyre valve hole) was at the midpoint between the spoke flanges.
7 Middle for diddle
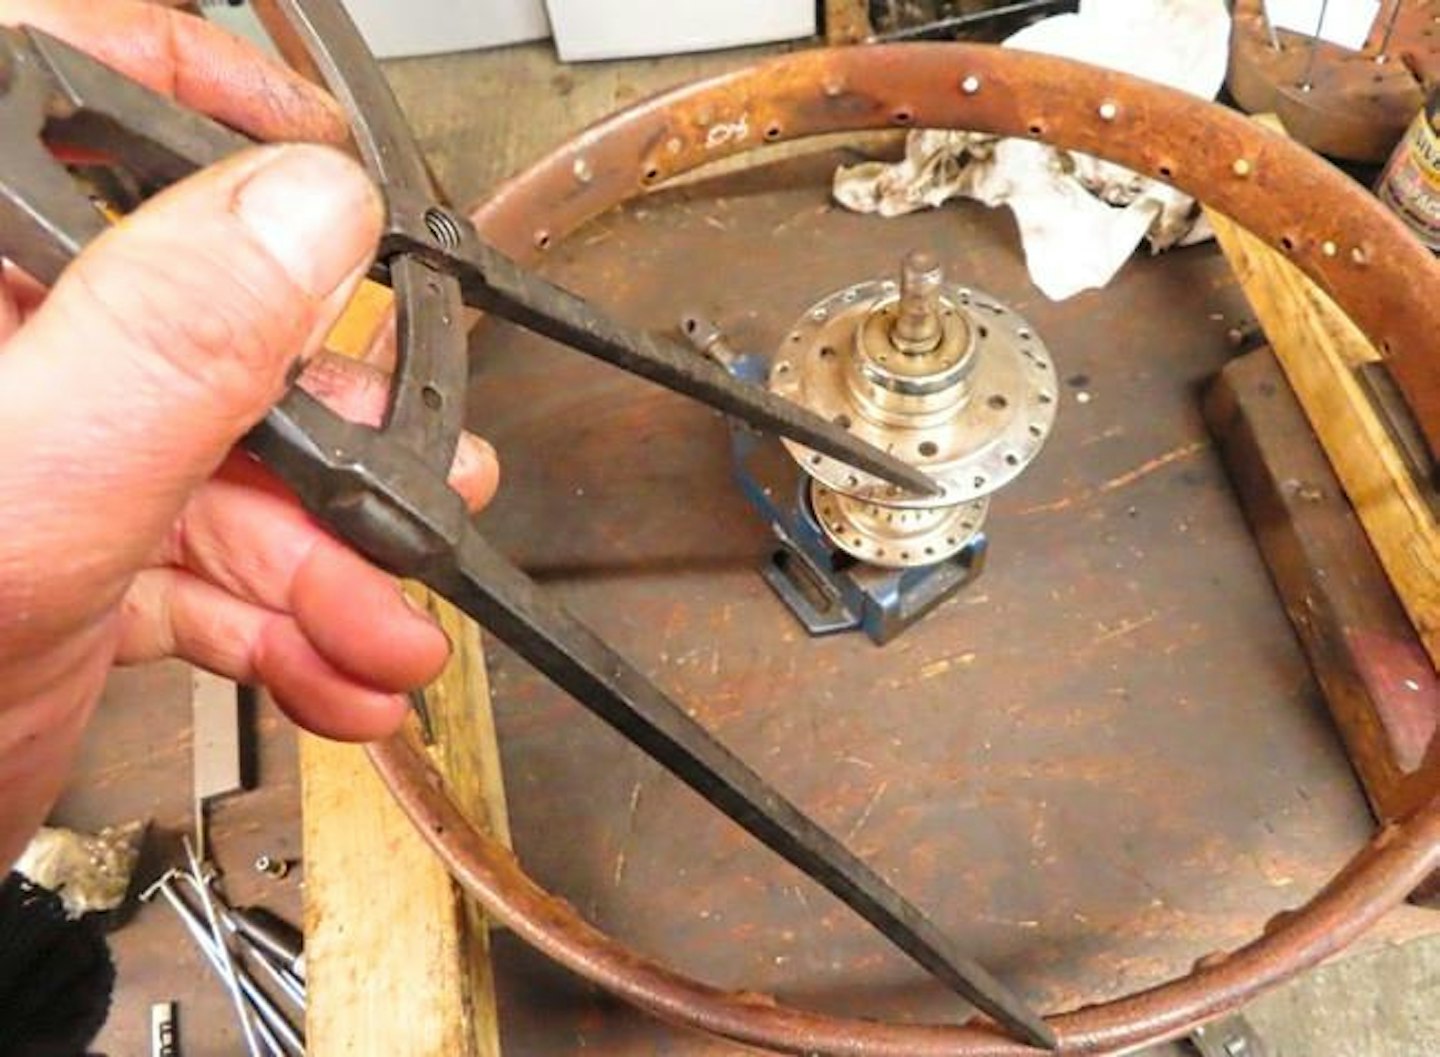
To set the hub central, I use these big old dividers – it’s quicker than faffing about with a tape or rule. Checking at four compass points, I keep shifting the vice until the hub’s central to the rim.
8 Start spoking
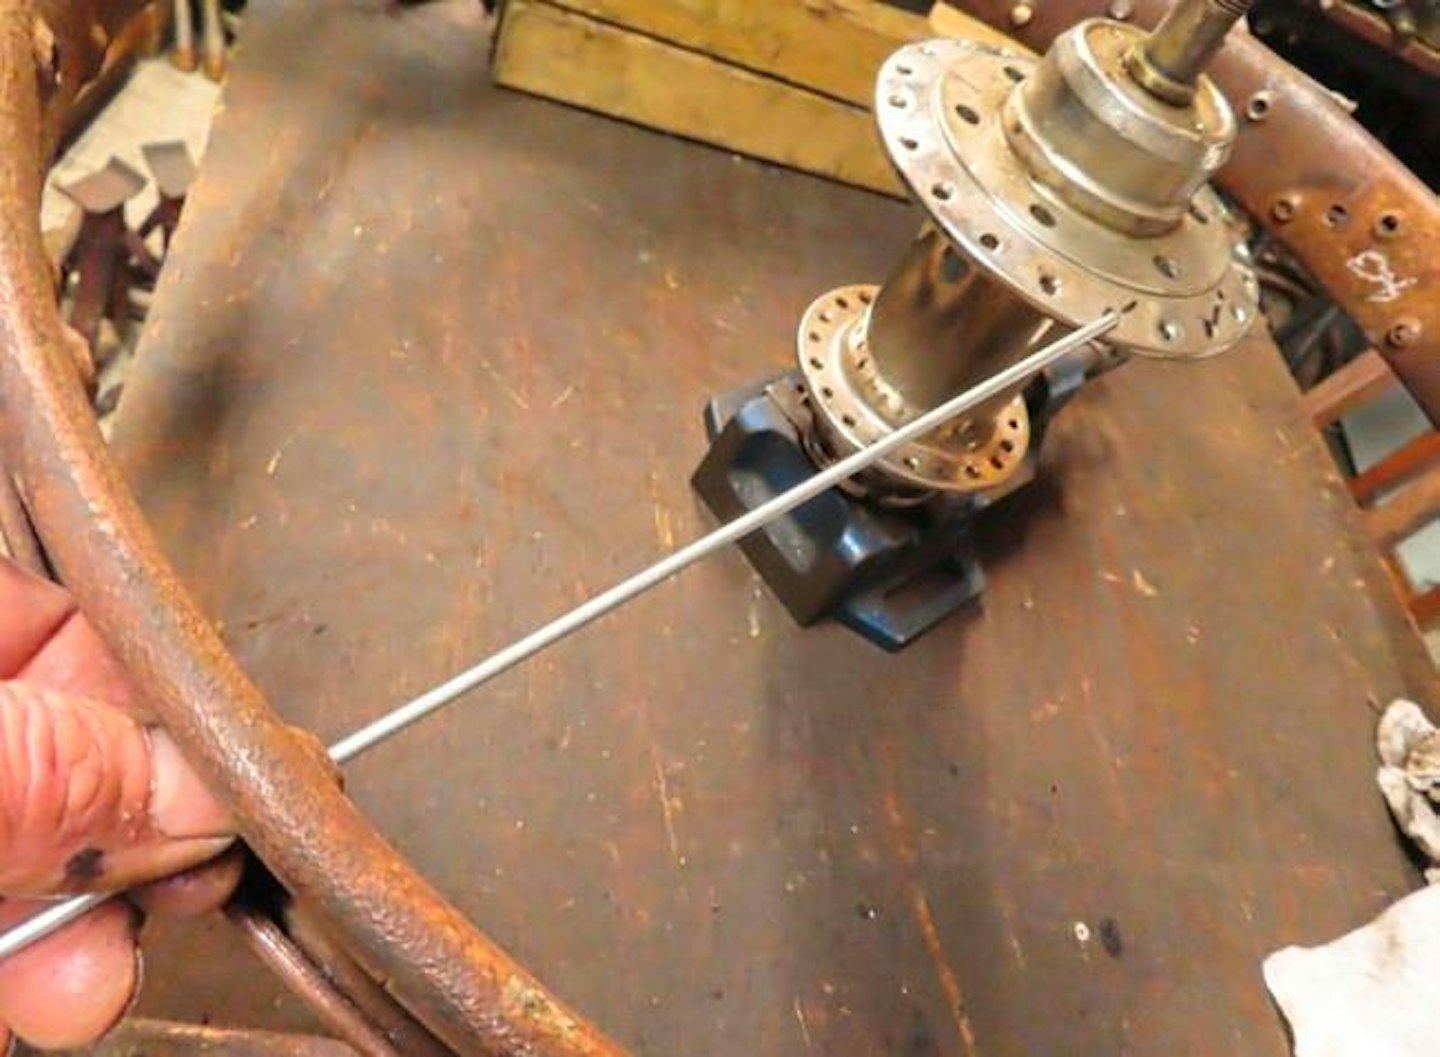
Next, I rotated the rim until an external spoke, lined up with the hub mark, aimed directly at the correct hole. Then I fitted an internal in the next hole and adjusted the rim position so they crossed symmetrically.
9 Cutting marks
Do the same for the other side. Then check the hub’s still central and mark the four spokes where they reach the rim; they’ll pull in further as the nipples are tightened, so I cut them there...
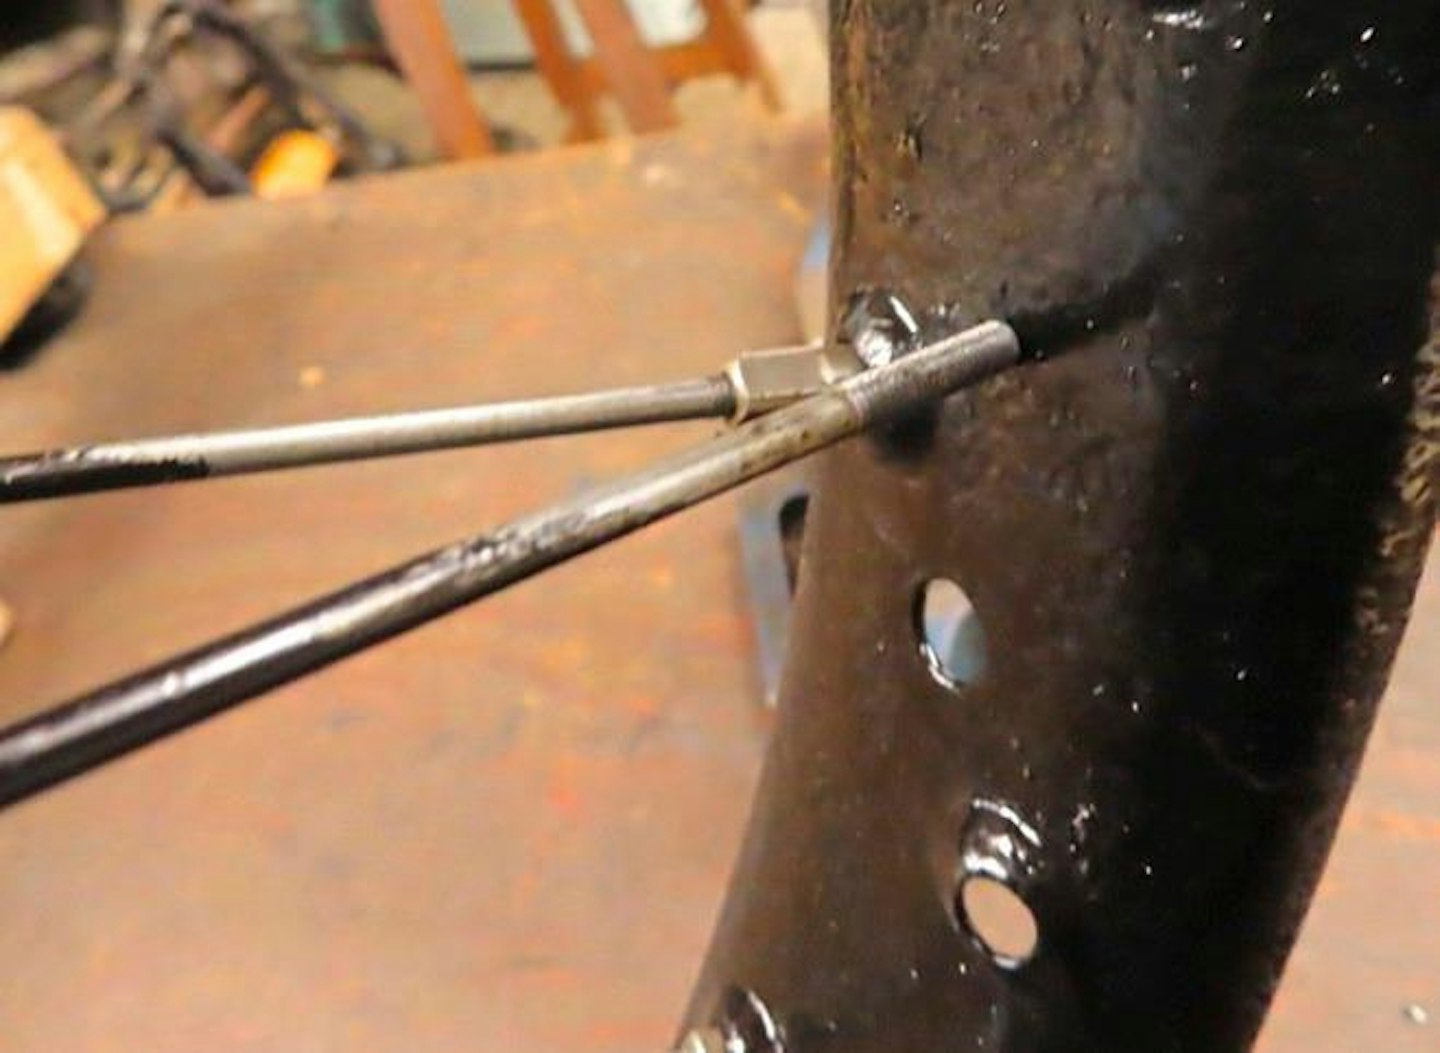
10 Get the thread
… and thread them with a Cyclo tool, but never use these for stainless – it’s too hard. Cyclos are scarce now, but once you know the length, you can get your spokes cut to size by a specialist.
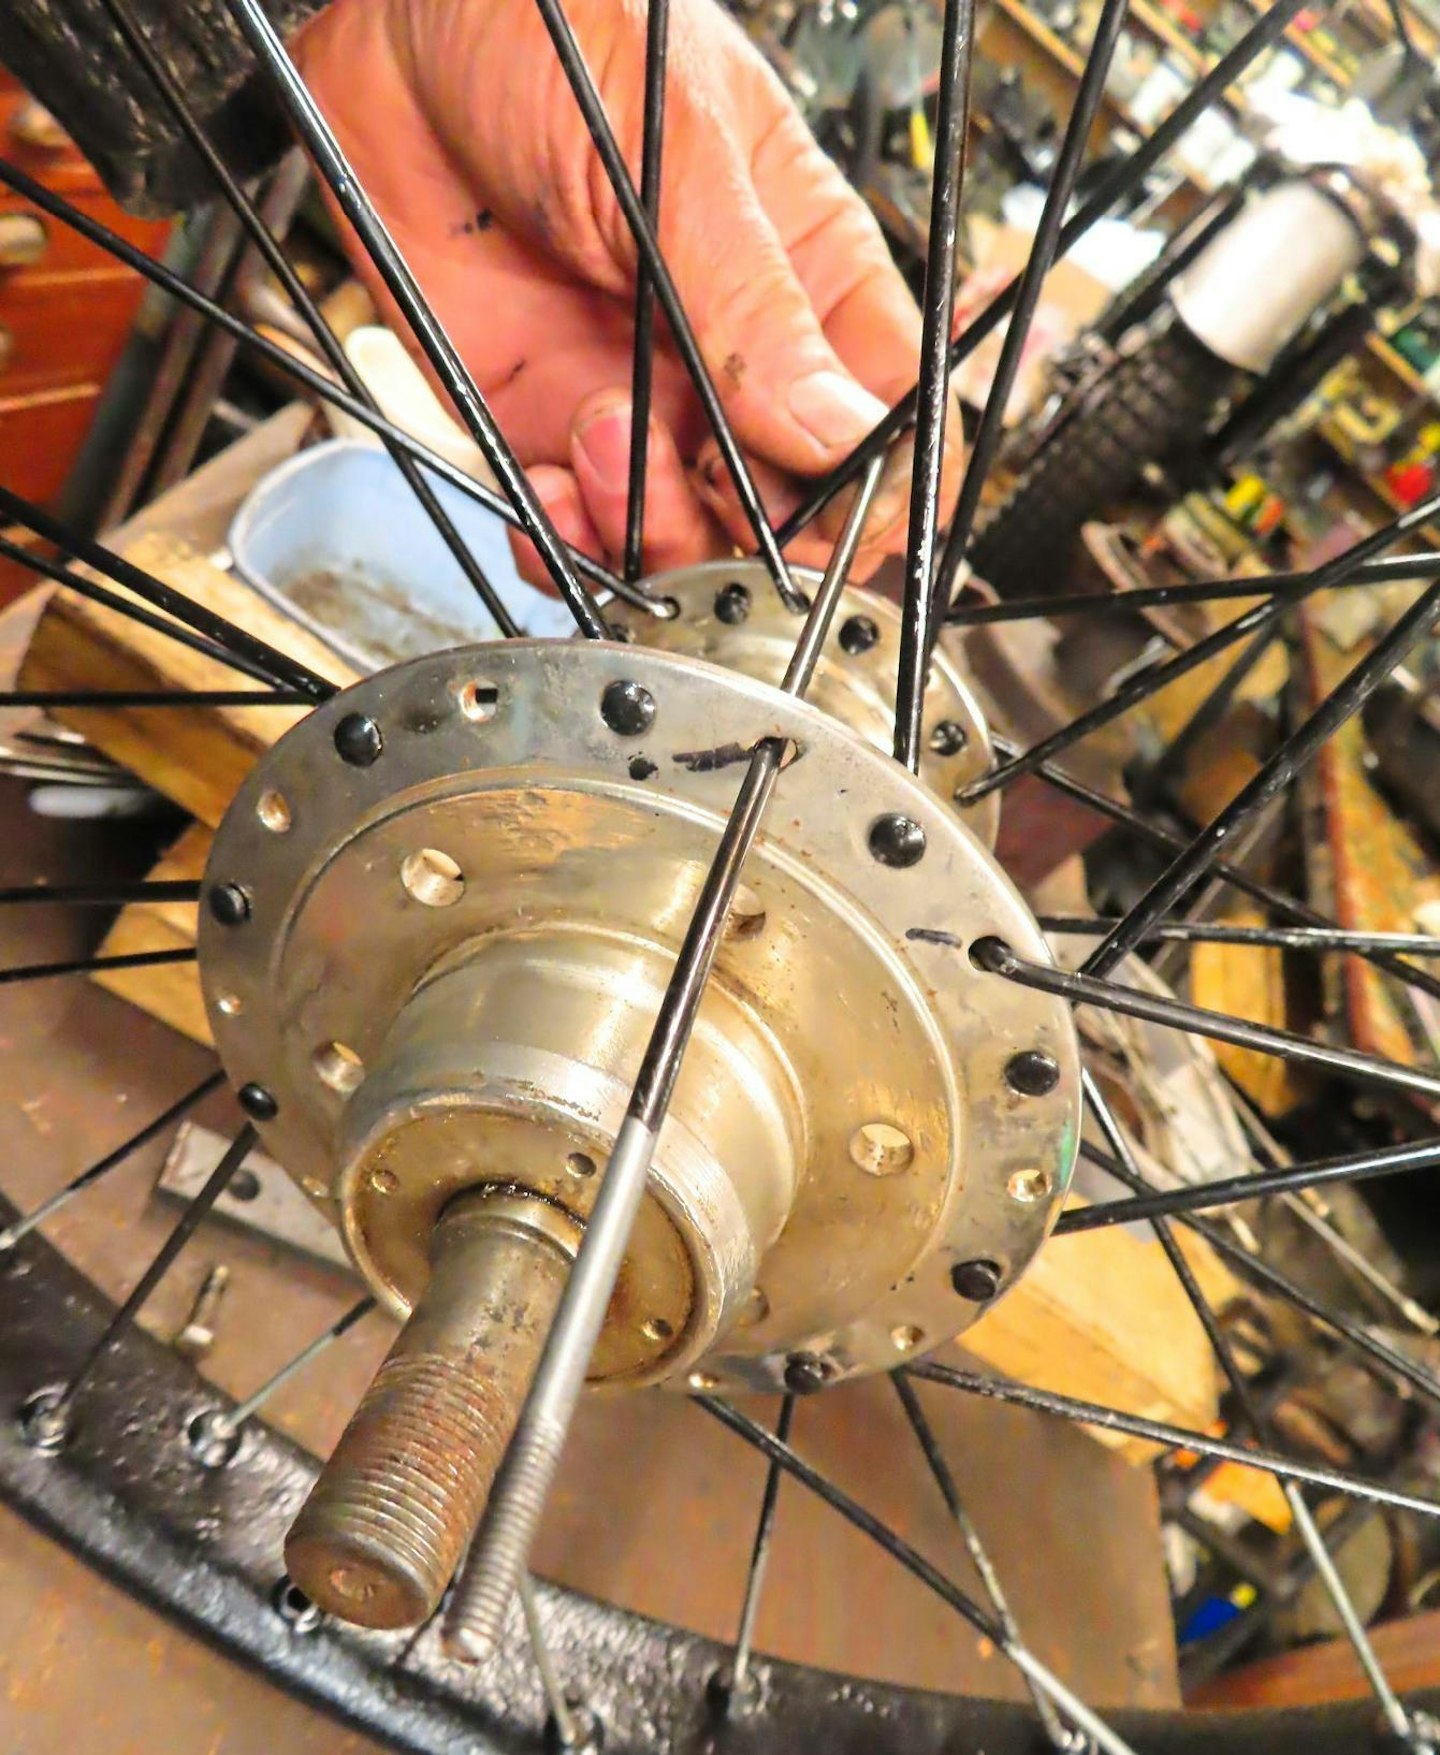
11 Brushing up
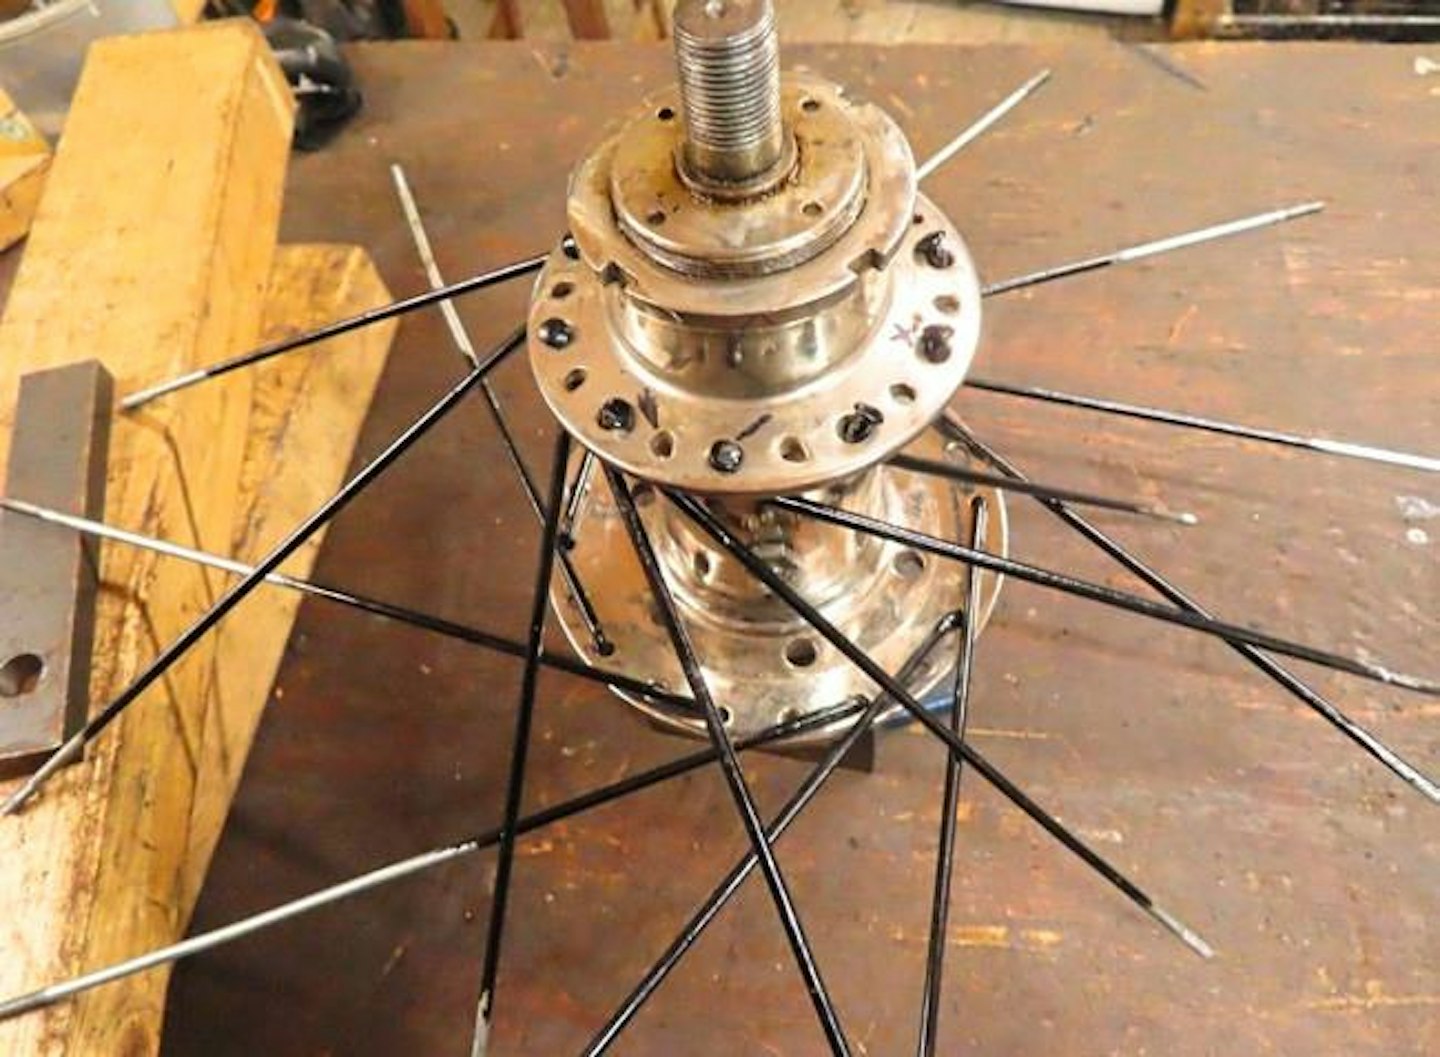
Paint the inaccessible top halves, then fit the left and right side internal spokes first, folding them close to the hub, facing the correct way (clockwise or anti-clockwise) so the rim will easily fit over them.
12 Get linked up

Before painting the rim, I marked the hole matched to my inked dash on the hub with a bolt; with those points linked by a spoke, insert the rest of this side internals into every fourth rim hole.
13 Firming things up
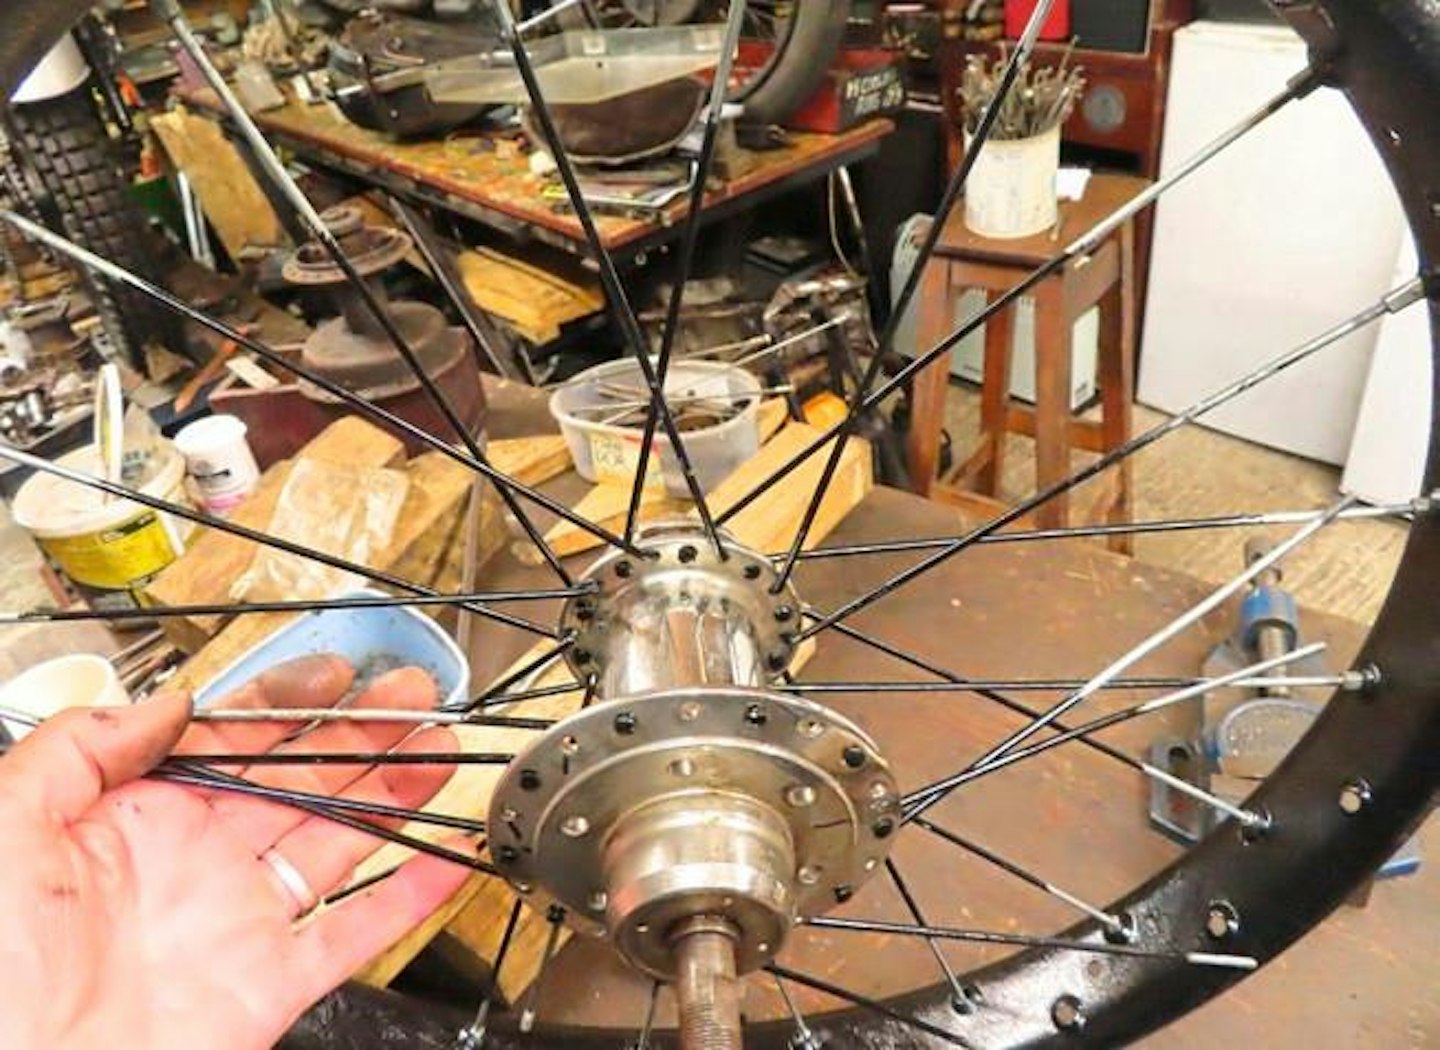
You can fit the flipside internals next, but I prefer to complete this side with the externals; it’s easy to see where they go now and firms up the wheel, making it simpler to lace the other side.
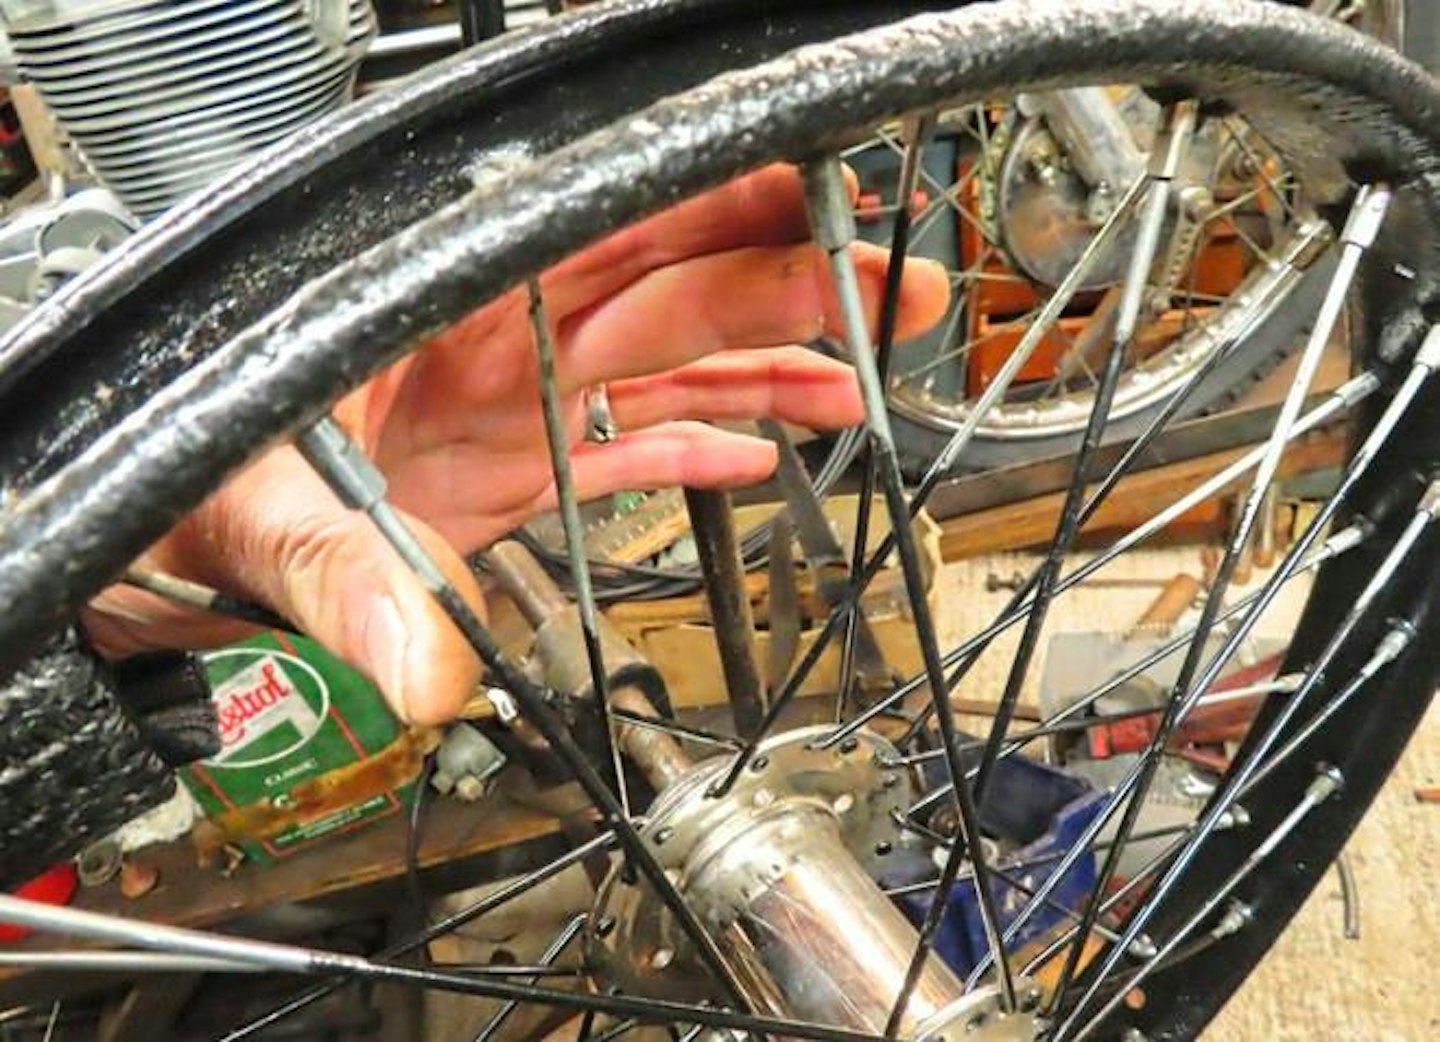
14 Wilful obstruction
Beware odd spokes craftily wedging against the rim, locking everything up so other spokes seem too long to fit; they dig particularly stubbornly into painted rims, so keep all loose spokes clear.
15 In the right order
Externals go in last, because you can push them through the hub holes and swing them round to the rim. Not so internals – each one is obstructed by other spokes which you’d have to remove.
16 True story
No jig? You can true a wheel on the bike, just fix up a pointer. To pull in this run-out gap, I’d tighten these two, first creating space by slackening the three flanking them on the other side.
17 Eccentric attitude
But for eccentricity, you loosen both-side spokes on the low spot – and if there’s a high spot diametrically opposite, tighten spokes that side; no corresponding low spot may mean a dented rim.
In the toolbox
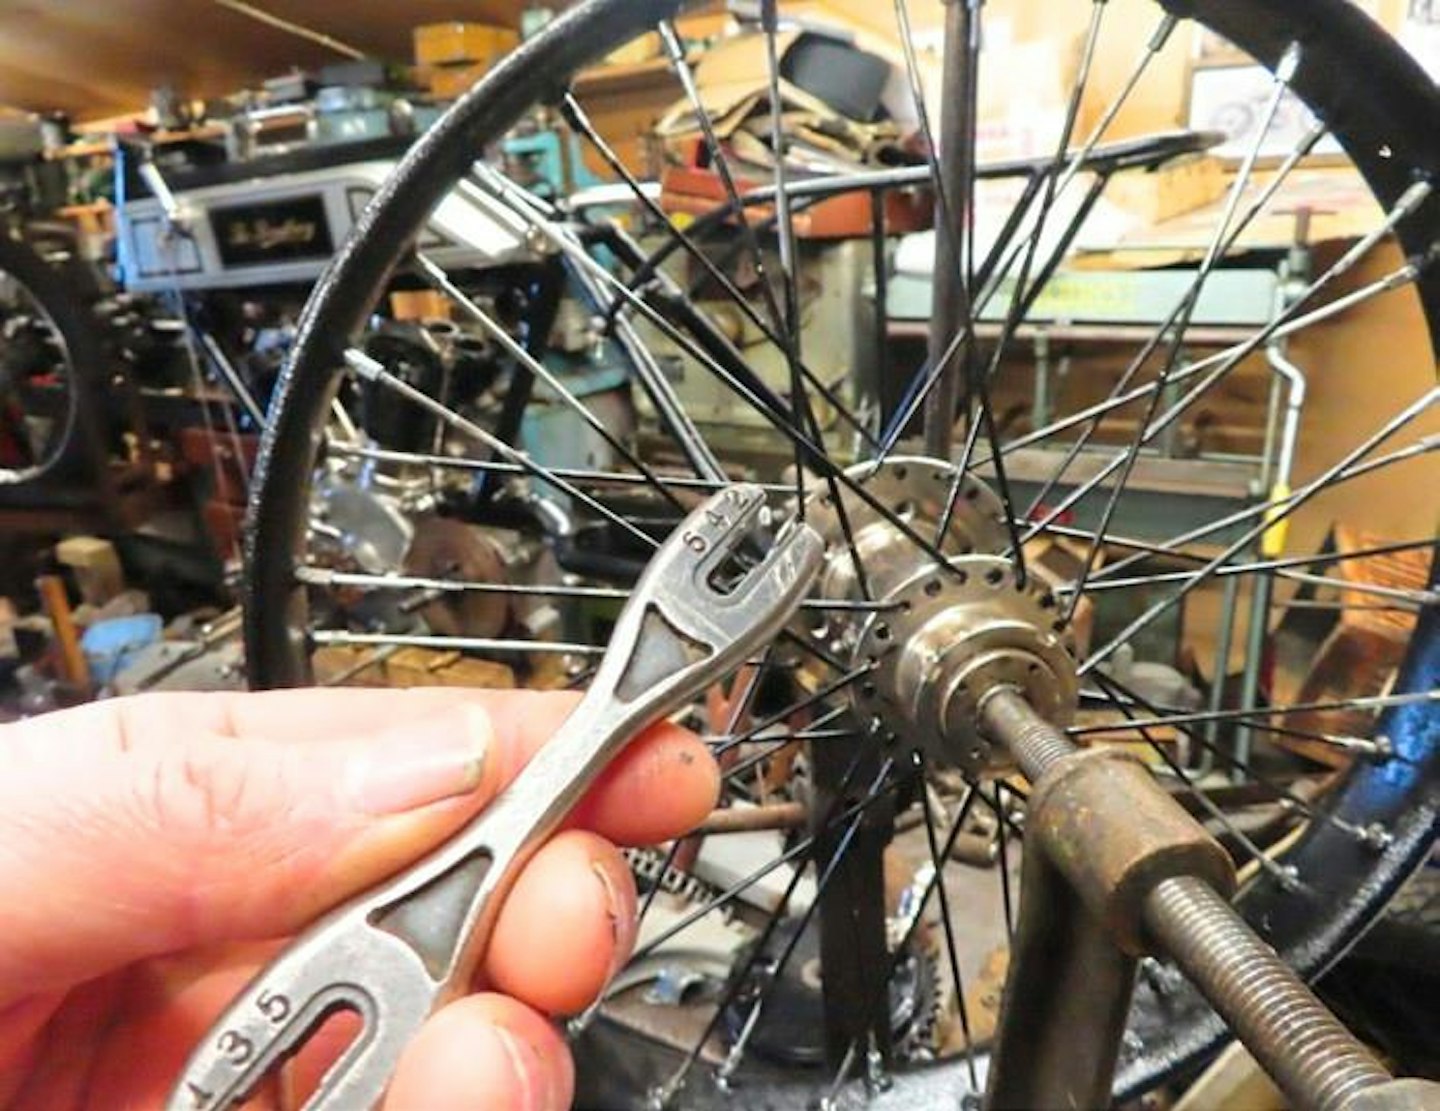
Wheel jigs and spoke rollers are great to have, but they’re only worth having if you do lots of wheels. Really the only essentials are an easy-to-use spoke key – and plenty of patience!